Don't Slip Up: How to Carry Out A Spillage Assessment
Slips, spills and falls are, sadly, still occurring in workplaces. Even in places where there are proper signs and procedures in place, spills can still happen. When liquids are handled, transported or drained, there is always a risk that some of them will spill.
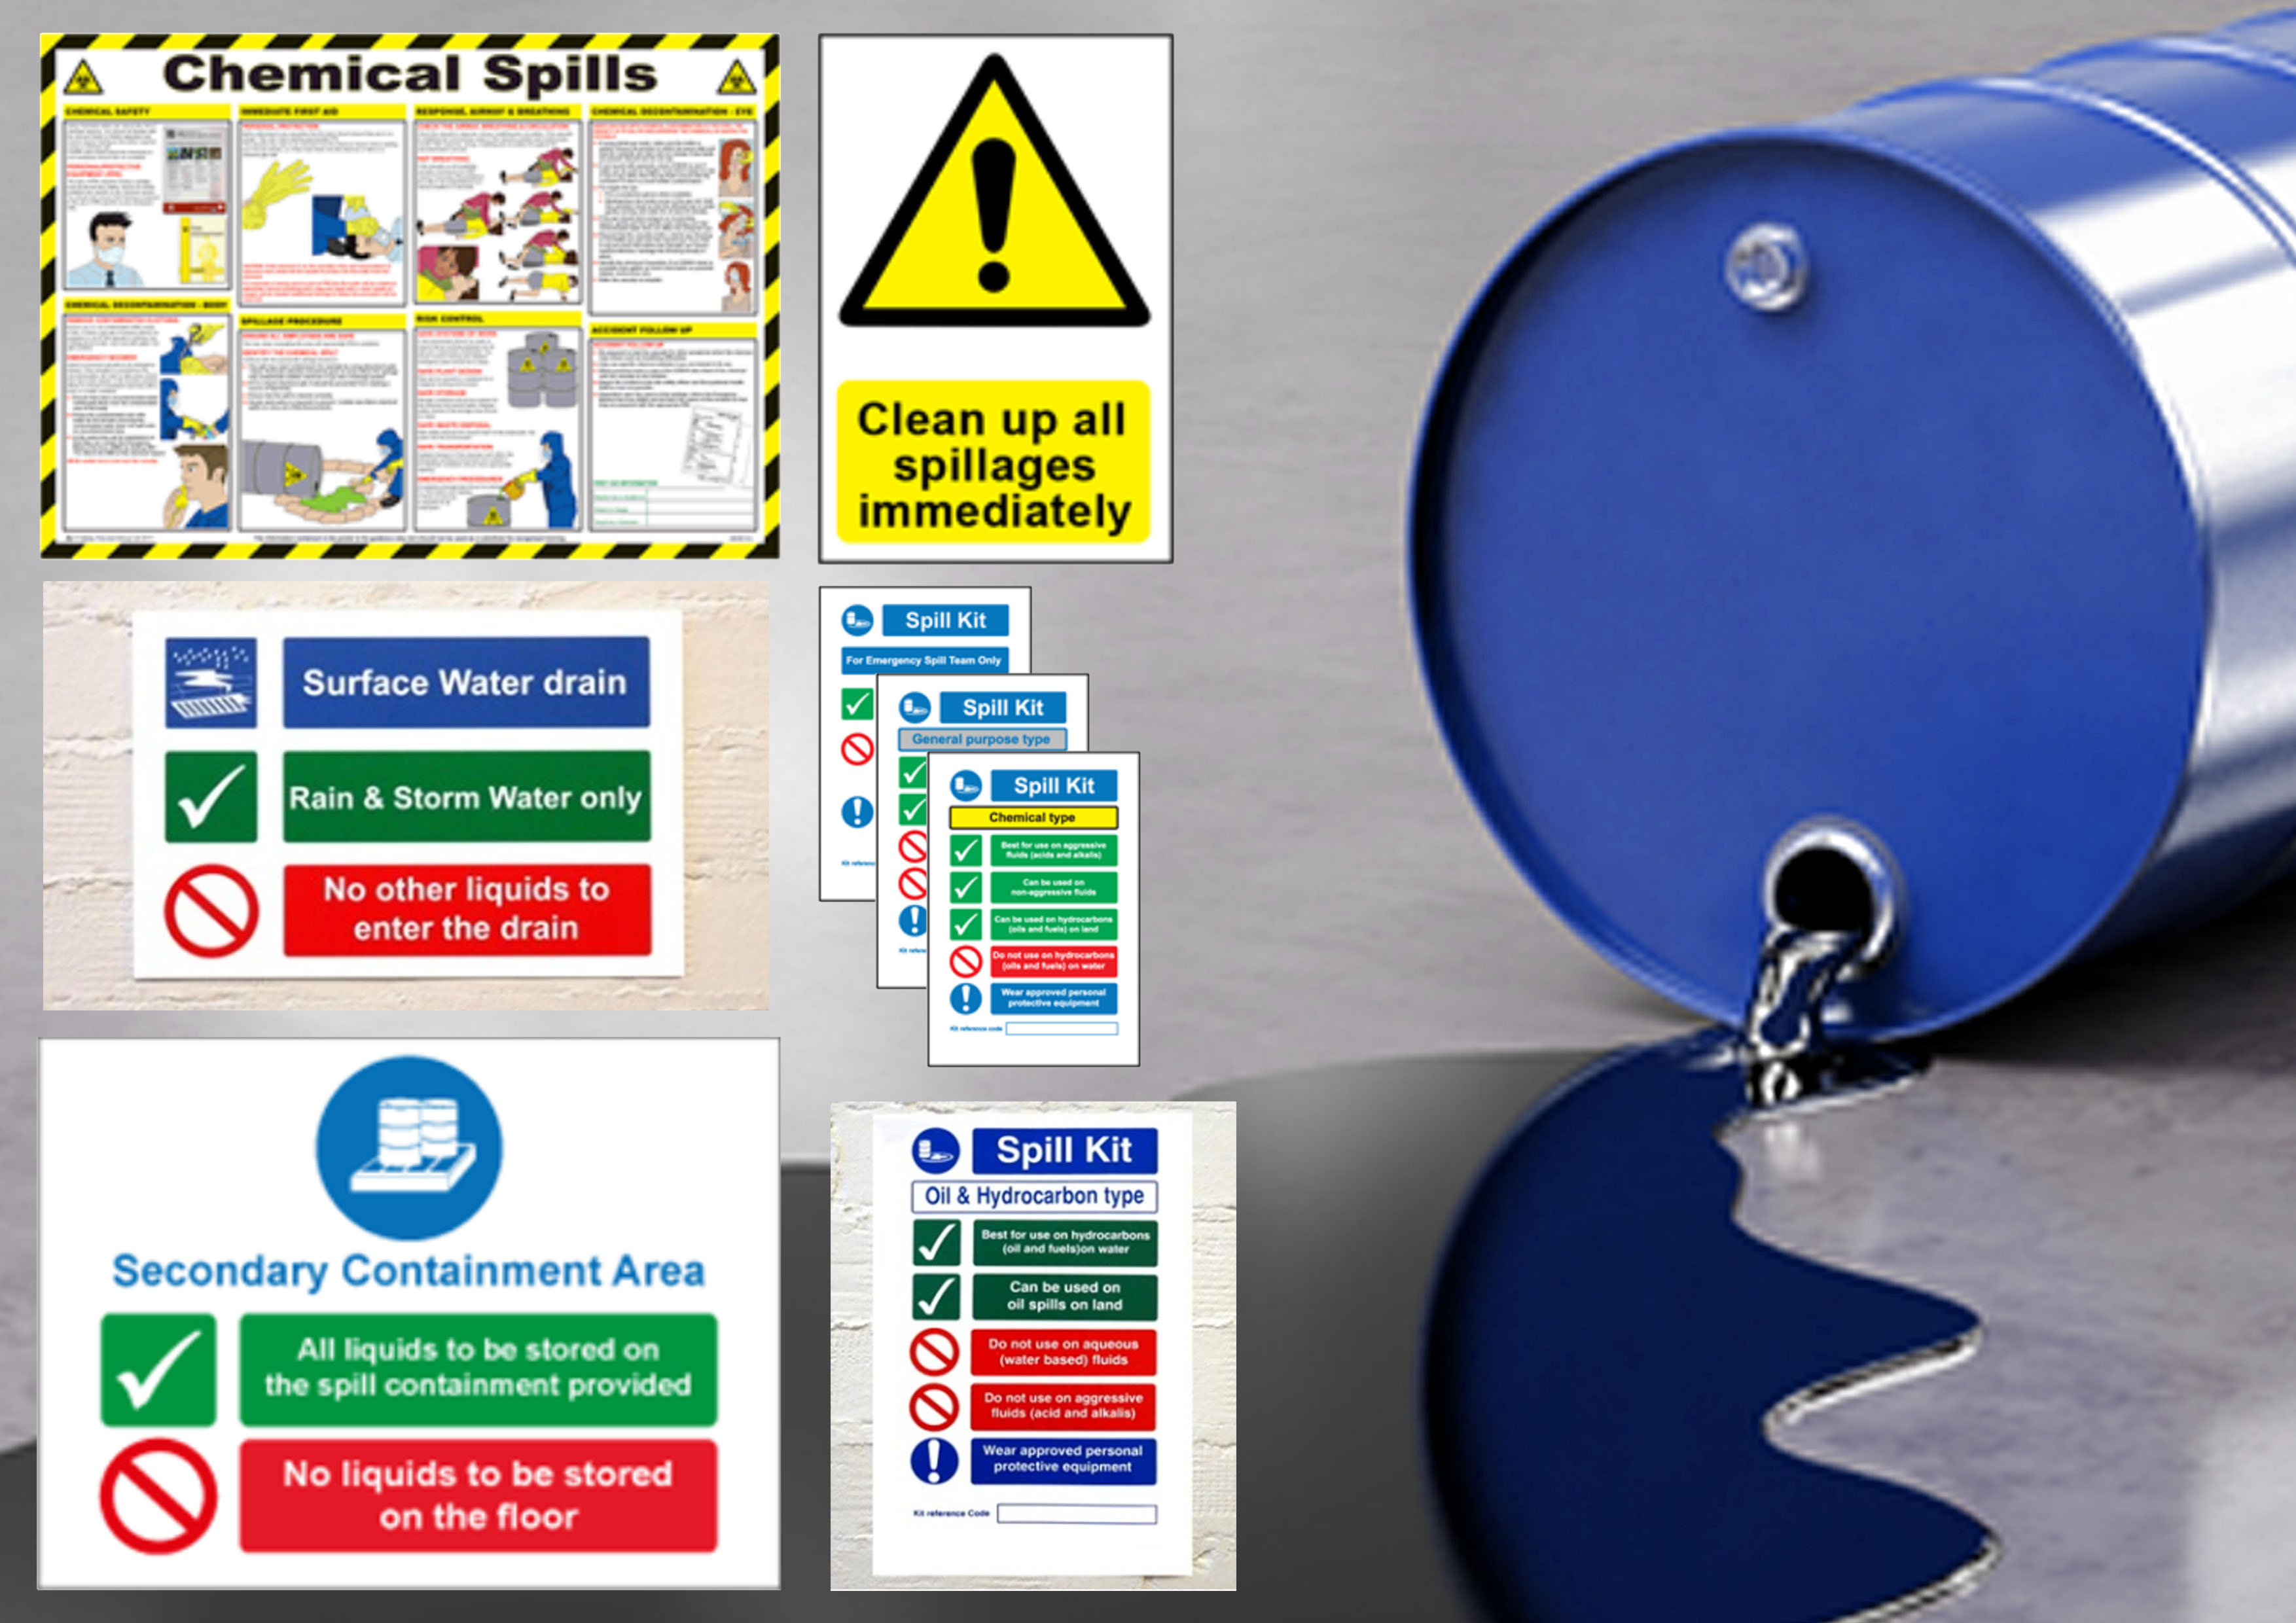
However, a spillage doesn’t always mean an accident will occur after it. By putting a proper spill management procedure in place, as well as a network of spill control & liquid storage signs, businesses can stay on top of spill risk.
Below, we discuss how to carry out a spillage assessment, the spill response steps and the importance of putting a proper procedure in place.
What is a Spill Management Procedure?
A spill management procedure doesn’t need to be complicated, but it does need to cover the different types of spillages. Not all spills are the same, and some carry inhalation risk.
A spill management procedure will usually outline all the necessary steps to do with cleaning and managing spills. This includes:
- A full risk assessment to understand the spillage
- Liquids that require workplace evacuation
- The equipment needed to clean up the spillage, including PPE
- Steps to confine a spill, depending on the risk factor of the liquid spilt
- Steps on how to stop the source of the spill safely
- Clean-up and decontamination processes
The end step should be the spill being sorted out and alongside a detailed report that outlines how the spill happened, how it was dealt with and any injuries which occurred as a result of it.
How to Carry Out A Spill Management Procedure
Spill response steps should be clear and follow a linear pattern. There must be no room for confusion in a good spill management procedure.
The first step is always a risk assessment. There should already be a risk assessment plan in place, but in case you don’t have one, consider reading our blog on risk assessment kits.
The risk assessment should outline the risks to people, property and the business efficiently, which then determines the rest of the spill response procedure.
The second step is to get the necessary equipment to protect staff and clean up the spill. PPE should be a priority if necessary. The equipment should be first used to isolate the spill so it doesn’t contaminate any drains or water sources.
Next, you should safely stop the source of the spill. This will depend entirely on the risk assessment and the type of spillage – it can be as simple as moving a container or as complicated as fixing a crack or a leak.
Finally, re-evaluate the area after isolation and stopping the source has been complete. If safe, commence with clean-up, following the instructions for the liquid. After the area has been cleaned and decontaminated, fill out any necessary reports and log in your accident log.
Complement Your Procedure With High-Quality Labels
To complement these procedures, you should stock up on spill control & liquid signs. Our range contains everything you need to prevent and react to a spill, from spill kit signs to tank contents labels.
To keep up with the ever-changing world of safety, be sure to follow our Twitter.