Looking for bespoke / custom products?
Call us to discuss: 0800 3761 693

We are surrounded by health and safety myths. As people regularly state that the practice has “gone mad”, many stories and beliefs enter public discourse based on fiction.

As a consequence, a few health and safety misconceptions have entered popular thinking, distorting the practice and its importance. We all like to think we know health and safety rules well, but sometimes, our beliefs can be wrong.

Below, we list a few common myths, misconceptions and health and safety facts to put your health & safety knowledge to the test. Simply pick which letter you think is correct. More...

Lone working is common for many employees in the UK. And, whether you’re working a night shift alone in a shop or hotel, working alone in an office or working separately from everyone else in a factory, lone working carries risk.

Since the COVID-19 pandemic began, lone working has become more common. Outside of working from home, staff members who previously worked in pairs or small groups may have now found themselves working alone.

The definition of a lone worker is someone who:

  • Works alone at a fixed base, such as a hotel, shop or petrol station.
  • Works alone in farming or agriculture. 
  • Works apart from other people in a shared workspace (such as security staff and cleaners).
  • Works from home.
  • Works away from a fixed base, such as those who work “from the road” (for instance delivery drivers, nurses, social care workers, postal staff).

Below, we discuss the lone working risks, how to enact a lone worker safety policy and how to carry out a lone working risk assessment.

Lone Working Risks

Lone working risks are similar to the usual risks that come with working together with a team. However, they come with the caveat that workers are usually isolated, making the consequences of these risks much worse.

In total, lone working risks include:

  • Accidents and injuries resulting in a lack of proper first-aid.
  • Poor provision of hygiene, rest and welfare provisions.
  • Security issues, such as encountering violent members of the public or intruders.
  • Mental health challenges.

The majority of lone workers are trained on how to deal with the above, but to ensure they’re safe, employers with lone workers should adhere to the law and create a lone working risk assessment.

Lone Working: What Does The Law Say?

There is no specific law regarding lone working. Instead, it comes under The Health and Safety At Work Act and The Management of Health and Safety at Work Regulations.

These laws are hefty documents with numerous guidelines and rules to adhere to, but when it comes to lone working, it essentially boils down to the following:

  • An employer must deal with any risks associated with home working before an employee is allowed to do so.
  • All risks must be assessed: including violence, manual labour, the health of the worker, hazards around the workplace and any mental health risks.
  • There must be an assessment of whether training is needed, preparations must be made to ensure staff are trained.
  • Systems must be put in place to ensure the lone employee can report accidents and any issues quickly.

Underpinning all of this is the need for a comprehensive assessment and safety policy.

How to Create a Lone Working Risk Assessment and Safety Policy

There is no legal requirement to create a specific lone working risk assessment. However, lone working should be considered in your general risk assessment and safety policy.

This means, when carrying out your risk assessment, you should make lone working provisions such as:

  • Considering how risks differ when encountered by a lone worker.
  • Putting separate steps in place to navigate risks for lone workers.
  • Considering how risks change when they involve a lone worker.
  • Using risk assessments to inform safety policy.
  • Regularly updating risk assessment and safety policy in line with lone workers’ experiences.

To learn more about risk assessments, consider reading our blog on the subject: Risk Assessment Kits: Prevent Accidents & Injuries in Your Workplace.

If In Doubt, Consider Safety Signs

Whether it’s for the benefit of lone workers or general employees, safety signs can be a big help in the workplace.

Our full range of safety signs covers everything from prohibition signs to health & safety labels, so they can help protect all types of employees.

For more tips and all the latest safety news, follow us on Twitter.

image of a spillage assessment

Slips, spills and falls are, sadly, still occurring in workplaces. Even in places where there are proper signs and procedures in place, spills can still happen. When liquids are handled, transported or drained, there is always a risk that some of them will spill.

However, a spillage doesn’t always mean an accident will occur after it. By putting a proper spill management procedure in place, as well as a network of spill control & liquid storage signs, businesses can stay on top of spill risk.

Below, we discuss how to carry out a spillage assessment, the spill response steps and the importance of putting a proper procedure in place.

What is a Spill Management Procedure?

A spill management procedure doesn’t need to be complicated, but it does need to cover the different types of spillages. Not all spills are the same, and some carry inhalation risk.

A spill management procedure will usually outline all the necessary steps to do with cleaning and managing spills. This includes:

  • A full risk assessment to understand the spillage
  • Liquids that require workplace evacuation
  • The equipment needed to clean up the spillage, including PPE
  • Steps to confine a spill, depending on the risk factor of the liquid spilt
  • Steps on how to stop the source of the spill safely
  • Clean-up and decontamination processes

The end step should be the spill being sorted out and alongside a detailed report that outlines how the spill happened, how it was dealt with and any injuries which occurred as a result of it.

How to Carry Out A Spill Management Procedure

Spill response steps should be clear and follow a linear pattern. There must be no room for confusion in a good spill management procedure.

The first step is always a risk assessment. There should already be a risk assessment plan in place, but in case you don’t have one, consider reading our blog on risk assessment kits.

The risk assessment should outline the risks to people, property and the business efficiently, which then determines the rest of the spill response procedure.

The second step is to get the necessary equipment to protect staff and clean up the spill. PPE should be a priority if necessary. The equipment should be first used to isolate the spill so it doesn’t contaminate any drains or water sources.

Next, you should safely stop the source of the spill. This will depend entirely on the risk assessment and the type of spillage – it can be as simple as moving a container or as complicated as fixing a crack or a leak.

Finally, re-evaluate the area after isolation and stopping the source has been complete. If safe, commence with clean-up, following the instructions for the liquid. After the area has been cleaned and decontaminated, fill out any necessary reports and log in your accident log.

Complement Your Procedure With High-Quality Labels

To complement these procedures, you should stock up on spill control & liquid signs. Our range contains everything you need to prevent and react to a spill, from spill kit signs to tank contents labels.

To keep up with the ever-changing world of safety, be sure to follow our Twitter.

RIDDOR symbols and labelsRIDDOR stands for The Reporting of Injuries, Diseases and Dangerous Occurrences Regulations. It is a piece of legislation passed to promote good accident recordkeeping and reporting. The law places this responsibility on the employer and any “responsible persons”.

Without RIDDOR, it would be difficult to see who is responsible for documenting accidents and the criteria needed to maintain sound records and reports.

Below, we discuss what RIDDOR is, what must be reported with RIDDOR and examples of when reports should be used.

What is RIDDOR?

RIDDOR demands that accidents be reported if they are work-related. This means accidents only need to be reported when they are “out of or in connection with work”.

Effectively, this means accidents that happen on work premises don’t always need a RIDDOR report – it must be in connection to work activity.

Regulations 4-6 of RIDDOR stipulate that deaths and injuries should be reported when:

  • An accident has caused the injury
  • An accident is work-related
  • The injury is reportable

The scope of a reportable injury is broad under RIDDOR. They include specified injuries, injuries that result in more than 7 days of incapacitation, injuries that require hospitalisation and the death of any person.

Specified injuries include:

  • Fractures (excluding fingers, thumbs and toes)
  • Amputation
  • Injuries that result in visual impairment
  • Crush injuries
  • Burn injuries
  • Scalping
  • Loss of consciousness caused by head injury or asphyxiation
  • Injuries from working in enclosed space

What Must Be Reported Under RIDDOR?

All RIDDOR reports occur through the HSE. Employers either fill out an online form or contact the organisation by phone.

In total, there are five types of reports:

  • Report of an injury
  • Report of a dangerous occurrence
  • Report of a case of disease
  • Report of a flammable gas incident
  • Report of a dangerous gas fitting

RIDDOR Roles & Responsibilities

RIDDOR outlines responsibilities for both the employee and the employer. Responsibilities are only legally-binding for an employer, but employees should try to keep to theirs too.

Employee Responsibilities

As an employee, you must report back to your supervisor if you witness or experience something that comes under RIDDOR regulations. You cannot contact the HSE as an individual to report an accident, it must go through the proper channels.

However, if you feel as though RIDDOR is not being followed, or if you and your employees’ safety concerns aren’t being documented, then consider raising it with a supervisor or your union. You cannot report RIDDOR incidents yourself to the HSE, but you can report general issues here.

Employer Responsibilities

An employer is one of the “responsible persons” RIDDOR maps out. This means employers, those in control of work premises and self-employed people are the go-to reporters for RIDDOR.

To fill out a RIDDOR report, you must fill out a RIDDOR form on the HSE website or contact the organisation by phone. After this, log all of the details in your accident book and prepare your records for potential inspection.

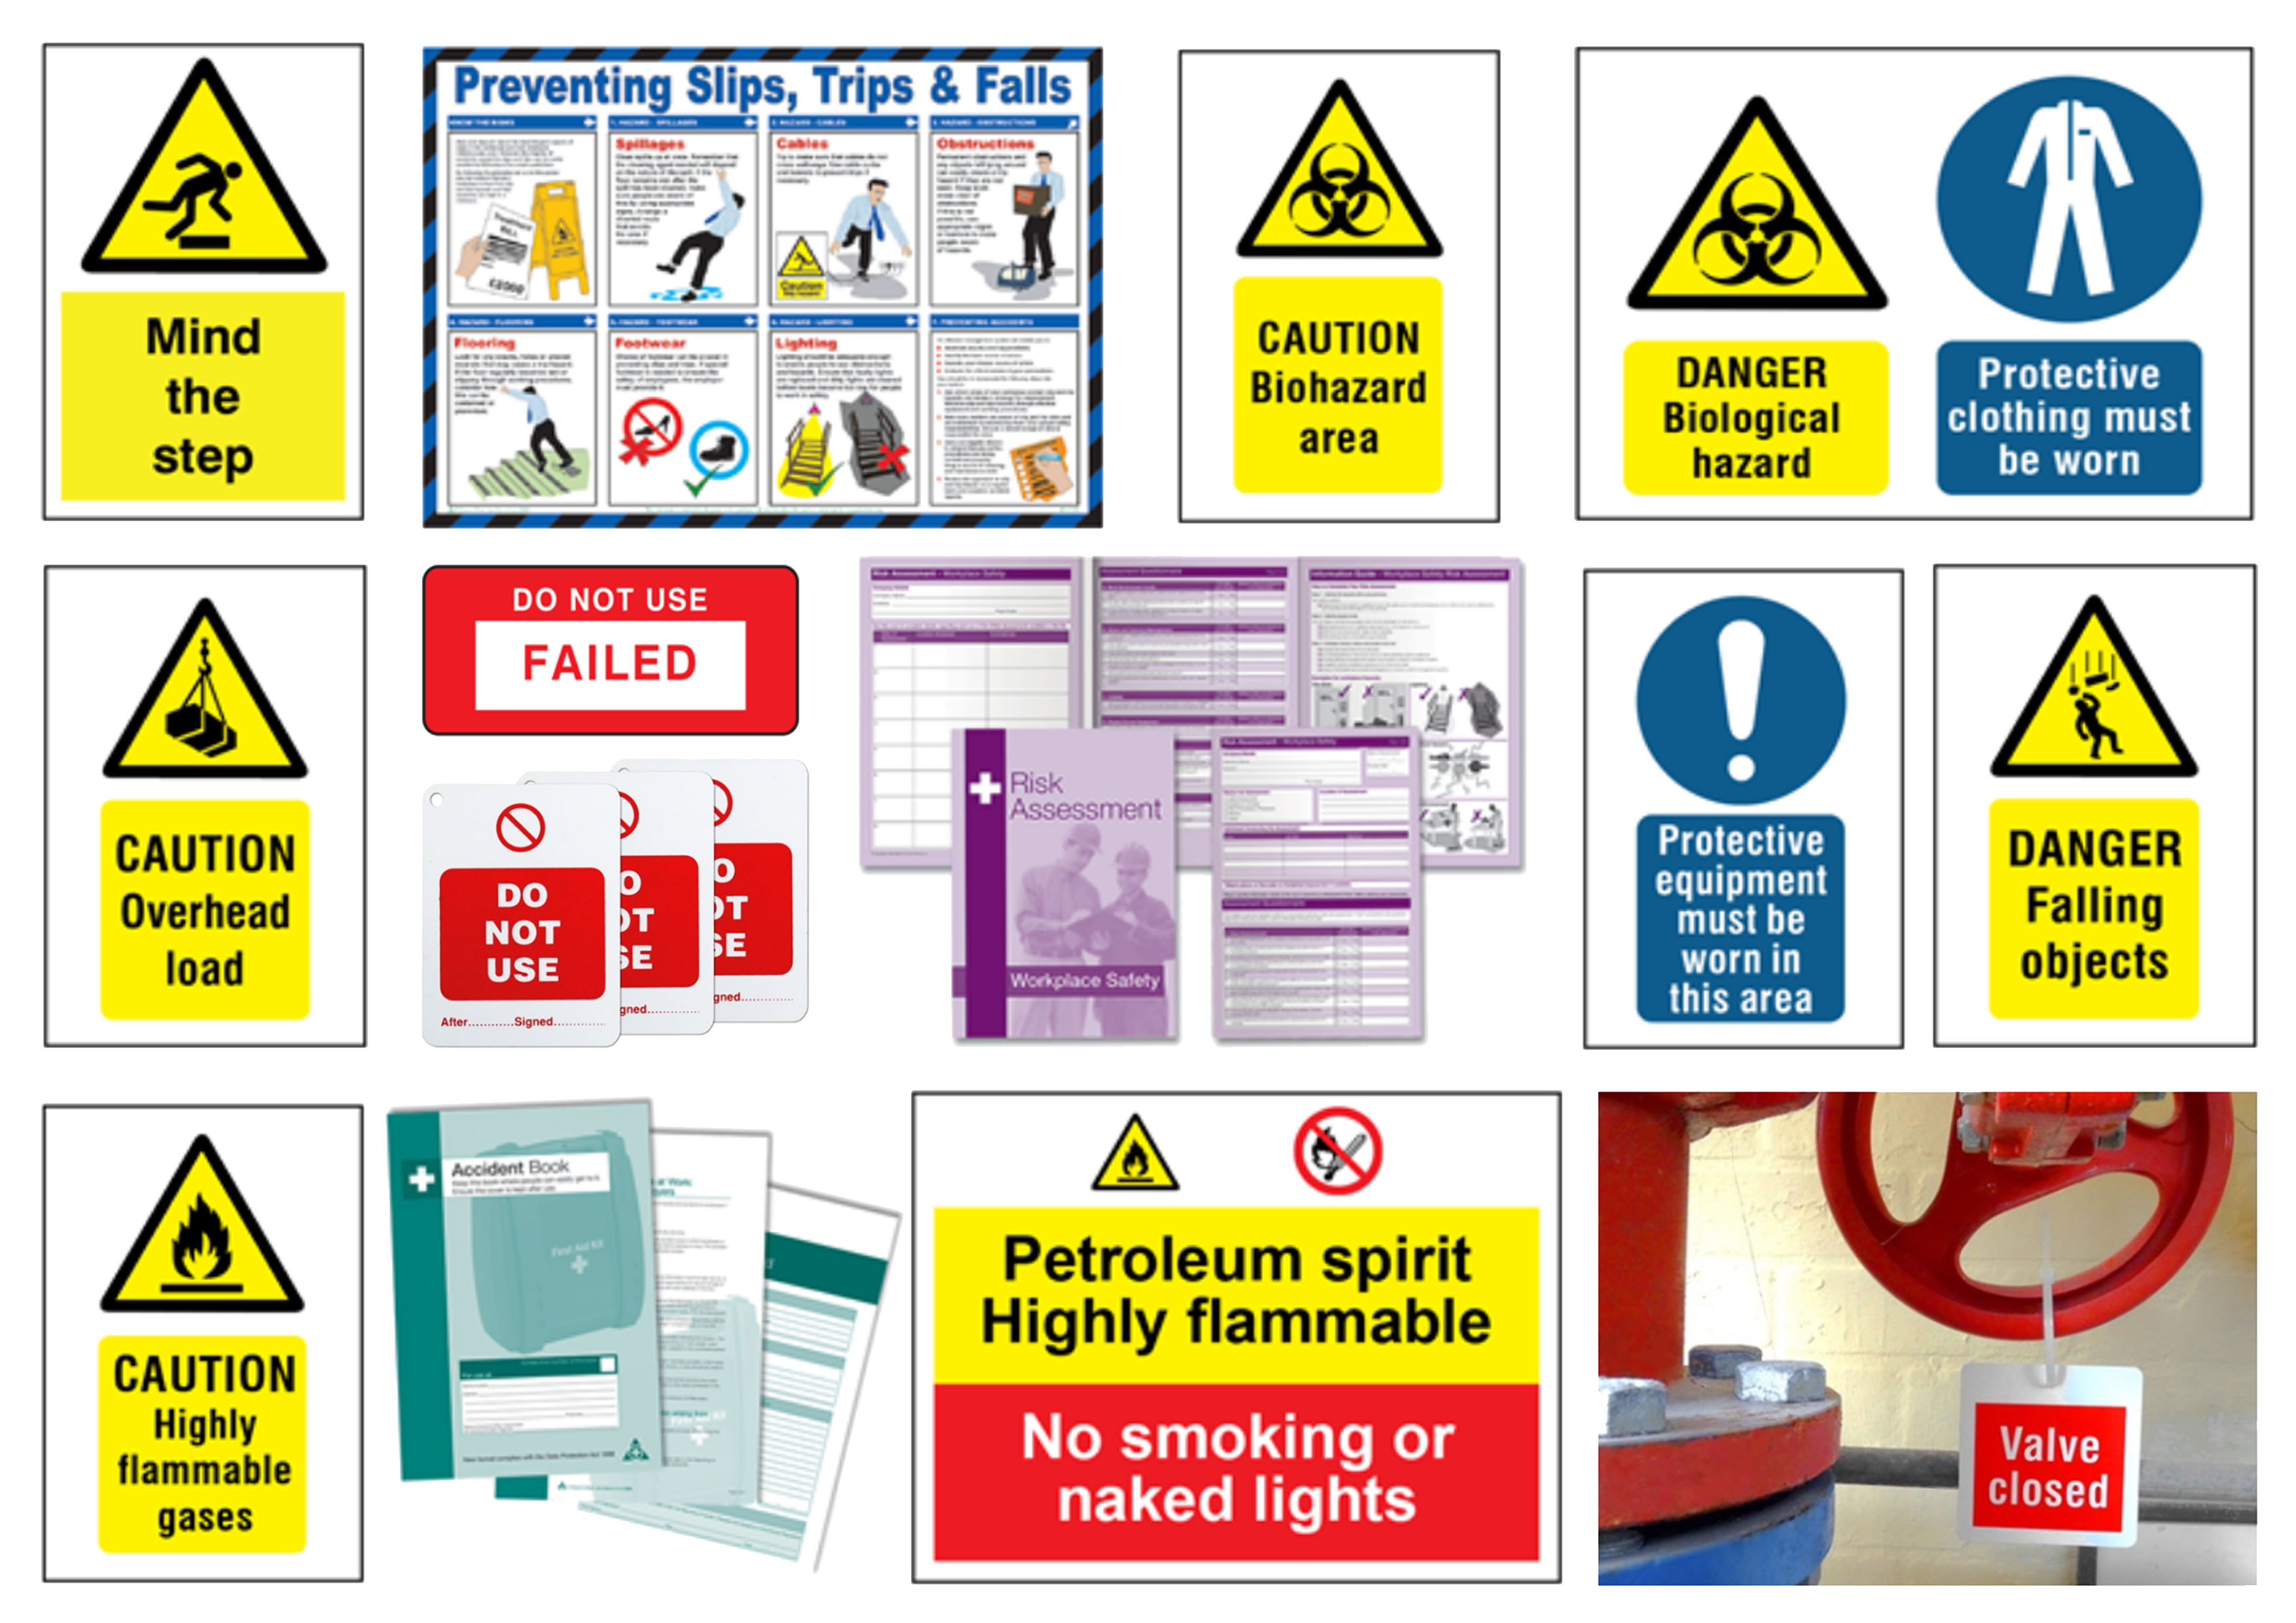
Become RIDDOR-Ready With Our Warning Signs & Labels

Of course, the best way to avoid having to fill out a RIDDOR form is to be proactive. Good safety relies on a network of processes, signs and labels to keep your workplace aware.

At Label Source, we stock a range of high-quality warning signs to keep your employees safe. Discover our range today and be sure to regularly update your labels, signs and procedures.

For all the latest safety news, consider following our Twitter.

In warehouse management, the smallest tools can make the biggest differences. A frictionless warehouse doesn’t always need to rely on the latest technology to get by. Ticket pouches, for example, are extremely simple, but when used properly, they can have positive knock-on effects.

A ticket pouch is a small, clear plastic sign holder which presents information. Instructions, signs and labels can be cut to fit them. These pouches can be affixed to shelving, racking, filing cabinets and storage cabinets.

Below, we’ll discuss how to use ticket pouches, and why you should consider them if you’re figuring out how to organise the warehouse.

How to Use Ticket Pouches

Using ticket pouches is very easy. Each ticket pouch comes with a bond adhesive, which affixes them strongly to your desired area.

To use a ticket pouch, simply:

  • Clean the area where you’re going to be affixing the pouch. This is to ensure the adhesive bonds to it properly.
  • Apply the ticket pouch to the area by pressing firmly.
  • Cut the label to size and place it in the pouch.

The adhesive ensures that if staff accidentally hit the pouch, it won’t fall off, so you won’t have to worry about that too much.  

However, before affixing, it’s worth answering these questions:

  • Is the information in the ticket pouch readable?
  • Is it in the best place to be seen?

Warehouse management relies on processes being near-automatic, so ensure that solutions like ticket pouches are easily read.

How Ticket Pouches Can Help Warehouse Management

If you’re struggling with learning how to manage warehouse inventory, then additional elements like ticket pouches can help.

Ticket pouches can:

  • Present information clearly and quickly.
  • Be colour-coded for certain types of stock easily.
  • Easily be changed or modified.

As we discussed in our How Arrow Labels Can Make Your Warehouse More Efficient blog, warehouse management relies on things flowing quickly. Having stock without proper signage only increases the potential for confusion, which affects efficiency, speed and, ultimately, your bottom line.

Get High-Quality Ticket Pouches Today

At Label Source, we stock high-quality ticket pouches in a variety of colours. These allow you to set up a colour-coded system for your warehouse, as well as display a variety of messages.

If you don’t work in a warehouse, you can also use ticket pouches to organise areas of the workplace. If you can put a sign on it, a ticket pouch will work!